How to Clean a Green Pool Fast
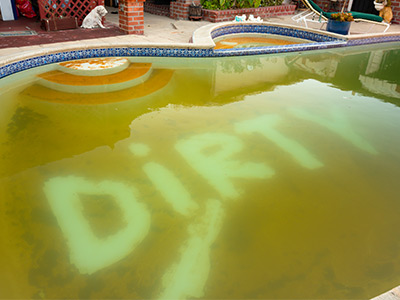
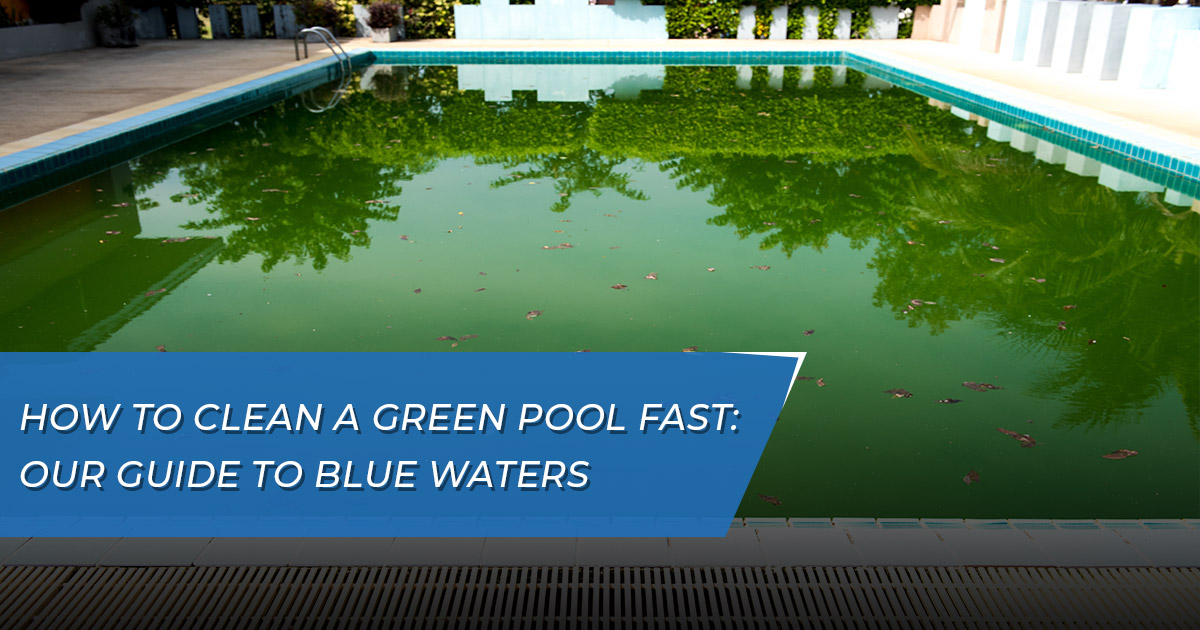
Nobody loves dealing with a green pool. Your pool should always be sparkling and shimmering, especially if you’re going to be having guests over for a get-together. A pool filled with water that has taken on a green appearance can easily throw a wrench in the works before you know it. Note that green-colored water can also arise if you leave your pool unattended and uncleaned for a prolonged period.
Many people who are trying to clean a green pool worry that it will take a tremendous amount of time, that they will have to drain out all the water and refill it, or both. Fortunately, this isn’t necessarily the case. Cleaning out your green pool isn’t as fast as flipping a light switch, but you can clean a green pool quickly by keeping a few key things in mind.
Why Is Your Pool Green? An Overview
 Before you learn how to clean a green pool, you must first understand why this situation happens in the first place. Better information can help you not only solve your problem in the short term but can also help you prevent it from happening again over time.
In most situations, the primary reason for a green pool ultimately comes down to green algae. This type of algae tends to appear when the weather gets very warm and sunny. Green algae can also enter your pool via rain, wind, or even too many nitrates and phosphates in the water. If someone gets in or near the pool with clothes or shoes with green algae on them, this can also be a source.
There are other reasons why your pool could potentially have green water, but they are less common. Allowing leaves, dirt, and other debris to sit in the water for too long can do it, for example. That’s why skimming the pool regularly is always recommended. At some point, however, you’ll be dealing with green algae.
Related Article: Why Is My Pool Green? Answers To This Common Question
How to Clean a Green Pool Fast: Your Guide
If you want to clean a green pool as quickly as possible ahead of your next big event, the best way is through a process called shock treatment. Shocking your pool refers to adding chlorine or other chemicals to the water to raise the levels to a point at which contaminants like green algae don’t just have a difficult time growing but are completely destroyed.
Many people make the mistake of assuming that if their pool smells like chlorine, all their chemicals are doing their job, and they don’t have anything to worry about. This isn’t always the case. Not only will the water in a clean pool not have a green appearance, but it also won’t smell like anything at all.
Step 1: Understand the Process
To clean a green pool through the shock treatment process, you’ll first need to understand the type of chlorine you will be dealing with. It is never a good idea to start a process like this without fully understanding what you’ll be doing and why it is important.
You’ll be focusing on free chlorine, referring to how much chlorine is actively cleaning the water in your pool. For the best results, this level should always be in the one to three ppm (parts per million) range.
Step 2: Clean Out Your Pool
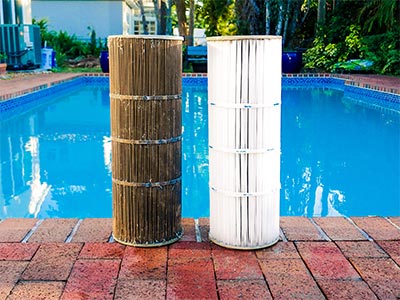
Next, you should clean any large debris out of your pool. Use a skimmer to get all those large leaves and other obstructions. Be sure to brush off the bottom and sides of your pool. Get any organic material out of the water that you can to give yourself the best chance of success moving forward. Note that this also means cleaning the steps to your pool as well as cleaning out the filter. You may need to do this multiple times depending on how much material is present.
Step 3: Test Your Water
Before the process begins, you should first test the water. To get rid of your green algae problem quickly, you’ll need to ensure the pH levels in your pool are where they should be. This will give you an indication of how much free chlorine you’ll need to use.
This is another one of those parts of the process that you may have to complete multiple times. The pH level of your pool should be between 7.5 and 7.8. The free chlorine level should be somewhere between 3 and 7 ppm. The CYA level should be between 30 and 60 ppm. If your water’s chemistry isn’t within this range, you’ll want to add the appropriate chemicals until you get there—which is why you may need to perform this task a few times until things are correct.
Step 4: Prepare Your Shock Treatment
 There are a few different ways to do this depending on your preferences. Liquid pool shock is an option that comes in bottles and contains everything you need to shock your pool. Granular pool shock is also available. However, most granular products you see in stores will need to be mixed with water before you use them. Always follow the directions listed on the specific product very carefully. Some products, like lithium hypochlorite, can only be used after dusk, for example. So if you’re trying to get your pool ready for a big party or another event, you should start this process the night before.
Also, whenever you are dealing with any type of pool chemicals, it is always essential to wear gloves and safety glasses for protection. This is true regardless of how careful you think you are.
Step 5: Begin the Shocking Process
When your shock treatment has been prepared, be sure your pool pump is running. Once the shock mixture has been added to the water, the pool pump will be a pivotal part of this process for getting your water ready to swim in again.
At this point, you can add your mixture to your pool water by pouring it carefully around the edges of the pool, in accordance with the directions on the product you’ve purchased. Let the pool pump run as you normally would. Pay attention to the condition of the pool pump and filter. Clean out anything as necessary, and understand that this may need to be done more than once as things progress.
All told, this process should take approximately six hours to complete. Keep people away from the pool during this time. Let your pool pump run for around 24 hours to allow the chemicals time to work fully. Maintain your shock level throughout this time by testing your water. Be sure to test your water every few hours, so you understand where your levels are.
Step 6: Confirm Everything Went As it Should
After the appropriate amount of time has passed, test your water levels once again to ensure your chlorine levels are in the desired range. When your free chlorine levels return to the one to three ppm range, your water should be free from the green appearance and safe to swim in again.
Related Article: How to Maintain a Swimming Pool: Getting the Chemistry Right
Additional Considerations About How to Clean a Green Pool
 Once you’ve taken care of the green algae in your pool, you can begin to take the necessary steps to help prevent the problem from happening again. In general, regularly circulating your pool water, treating it, and having a functional, high-quality filtration system are all key steps toward preventing green algae from rearing its ugly head again. Always check your pool filter to be sure it’s working properly. Seeing some evidence of green water after a particularly long, large storm front moves through is common, but a well-functioning filter should take care of the issue quickly.
Experienced Assistance to Clean Your Green Pool
If you need to clean a green pool urgently but don’t have time to do it yourself, don’t worry—GPS Pools is here to help. Our team members have the expertise necessary to clean even the dirtiest pools on the same day, all without having to drain them. Your pool can go from blue to green before you know it, but some providers will say draining might be necessary or the job can’t be done in 24 hours. When time is of the essence, you know where to turn for genuine expert pool help.

